After a lot of work and designs, I’ve figured out a great pattern for kids adjustable face masks and you can order one on etsy here. Here is a video done to describe the process and a little bit of the thinking:
The cord allows you to make the adjustments and you can even replace it if needed. This means this mask is not only adjustable, it’s durable. It will last through washes and all sorts of activities. It’s hard to get something appropriate for kiddos that they will even wear, let alone be comfortable in public with, so we’ve converted all our favorite doll dress making fabrics to making masks for the kids who got us this far! There is also an adult option on the same etsy store website, but this one is for the kids!
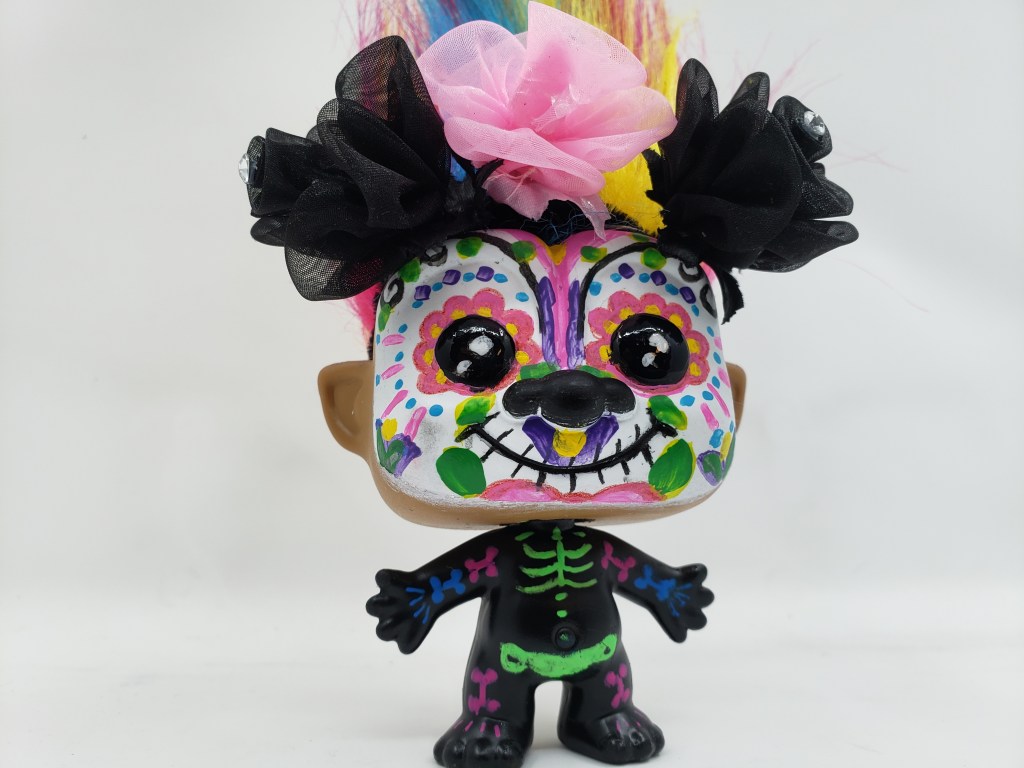
We’re still doing our series “a troll a day” over on deviantart but a good chunk of time is being dedicated to making masks for friends, family and customers. We have a lot of fabric that we’re use for our dolls, but know it will be much more valuable to our customers and relatives to have masks. As much as we live to make dresses for our dolls, our health is more important. Please reach out if you need masks or something else. And we hope to see you soon in person add soon as this is over.
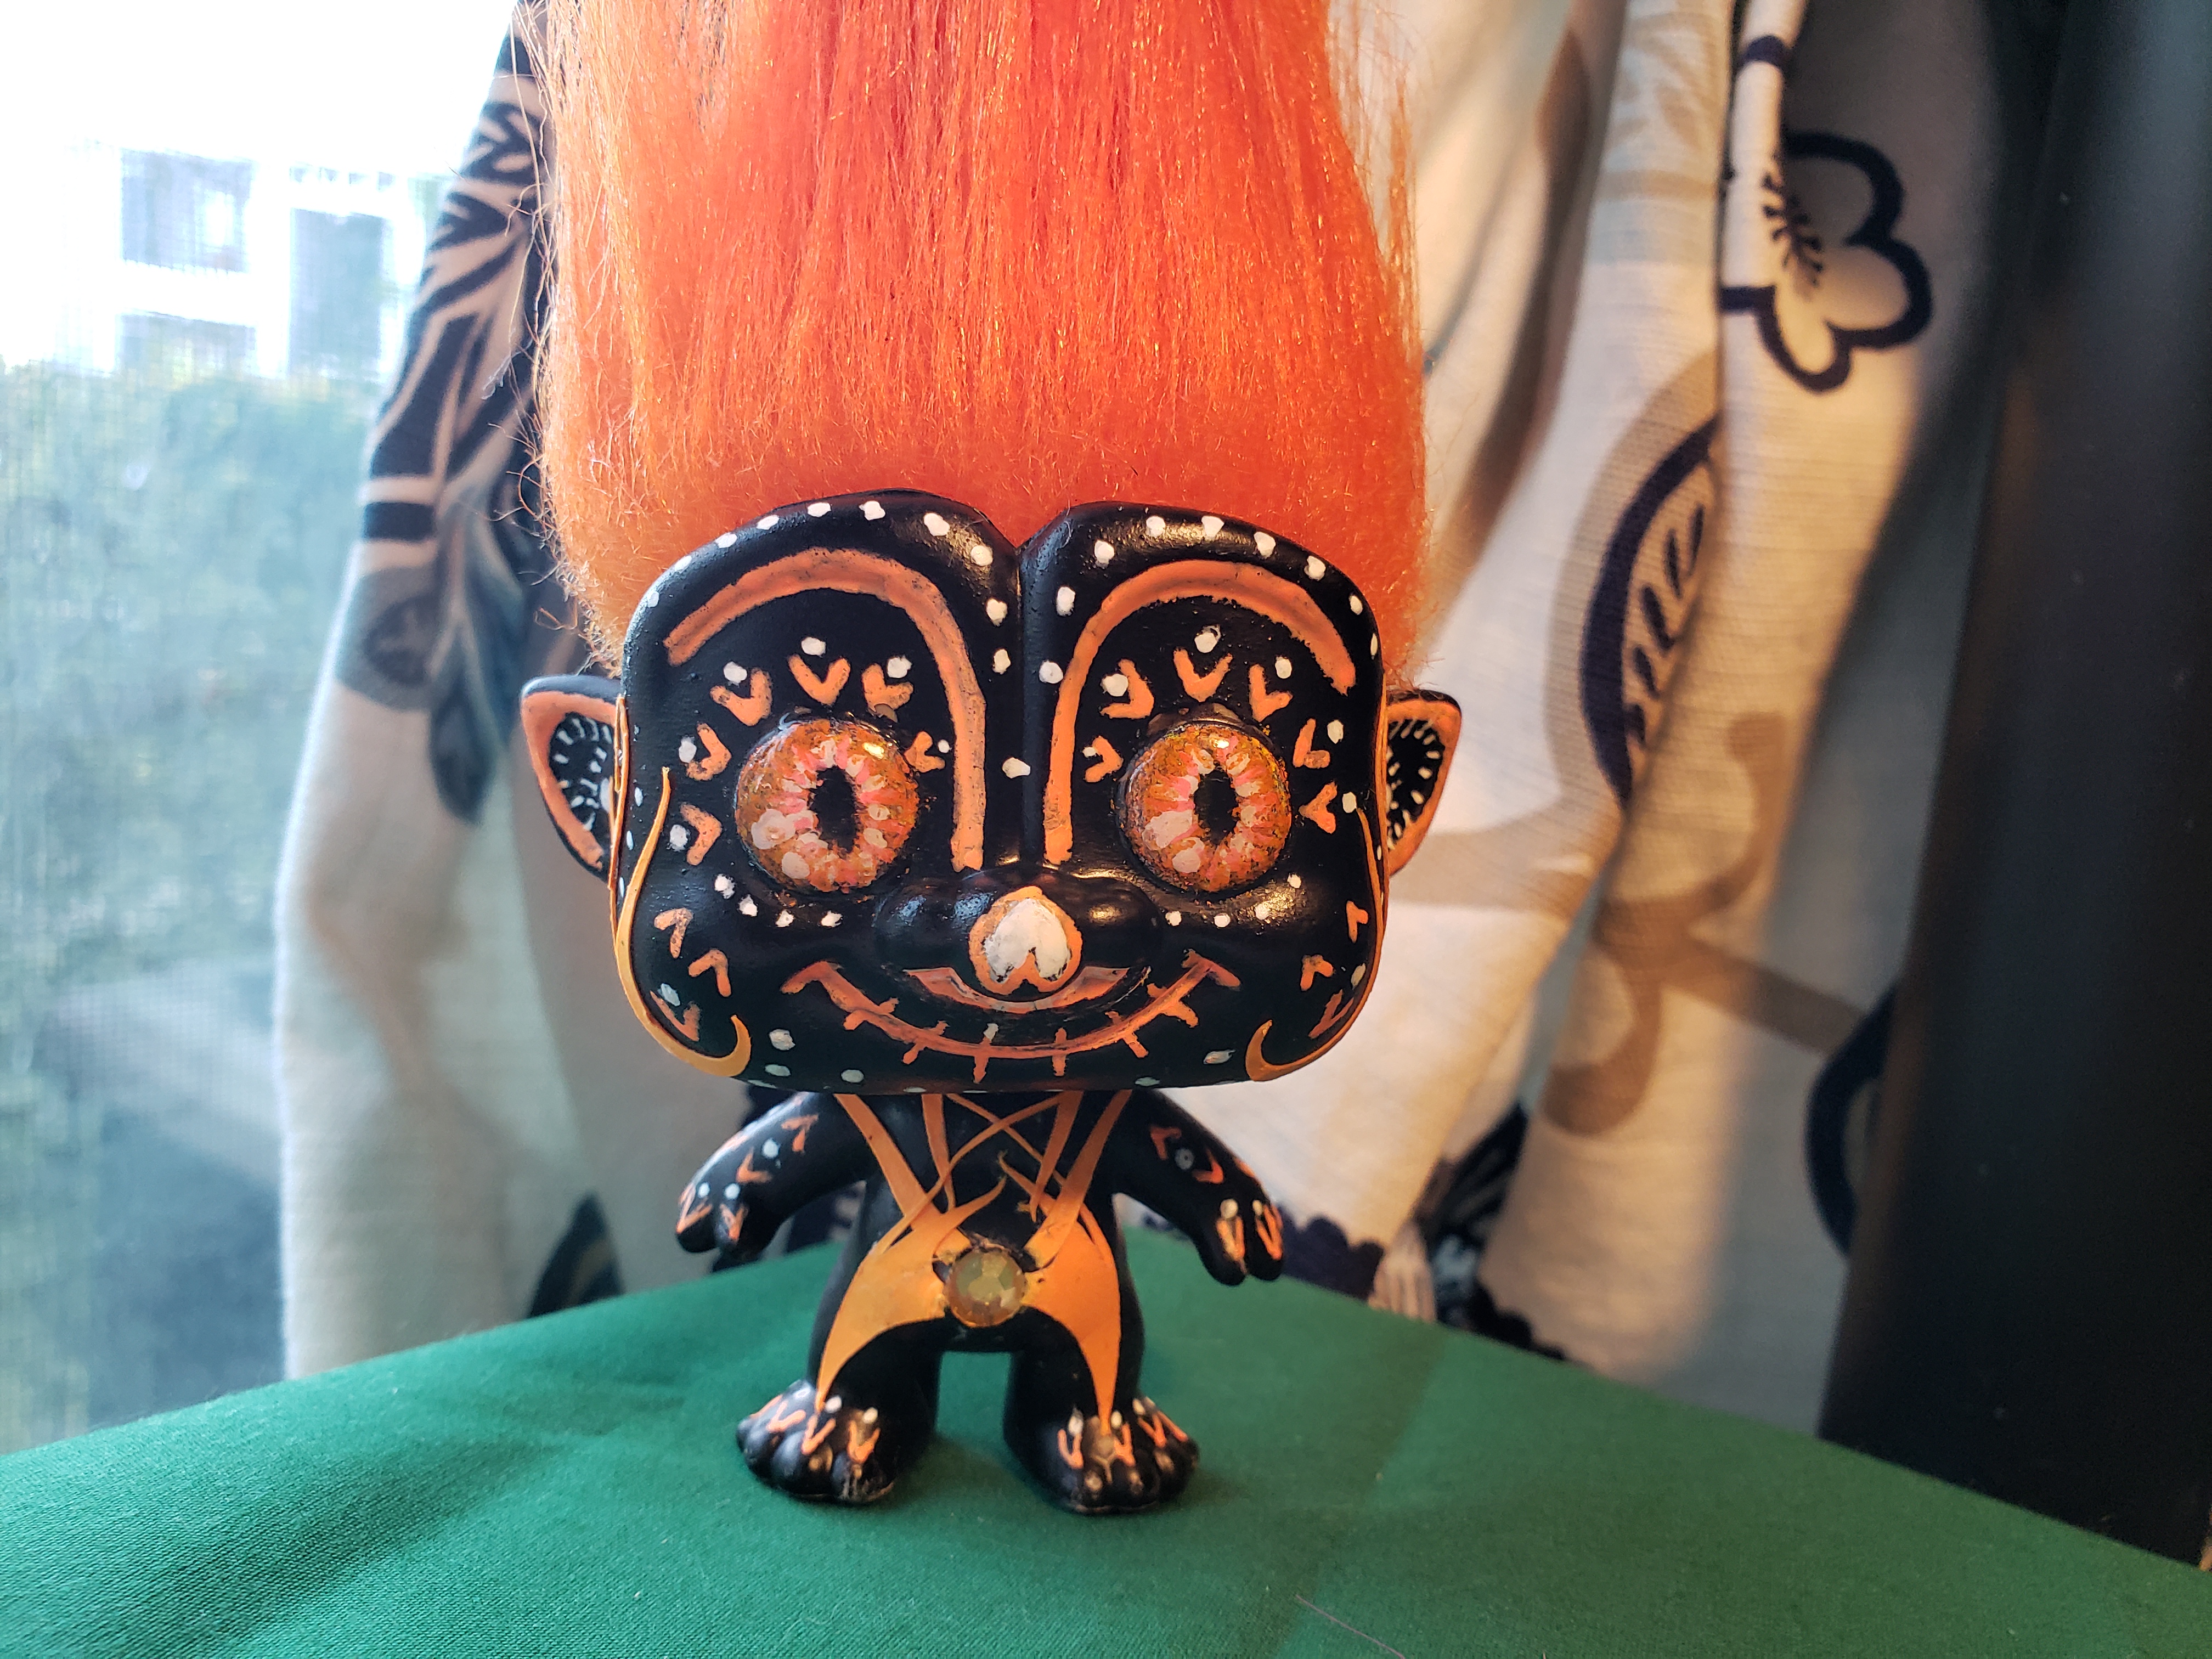
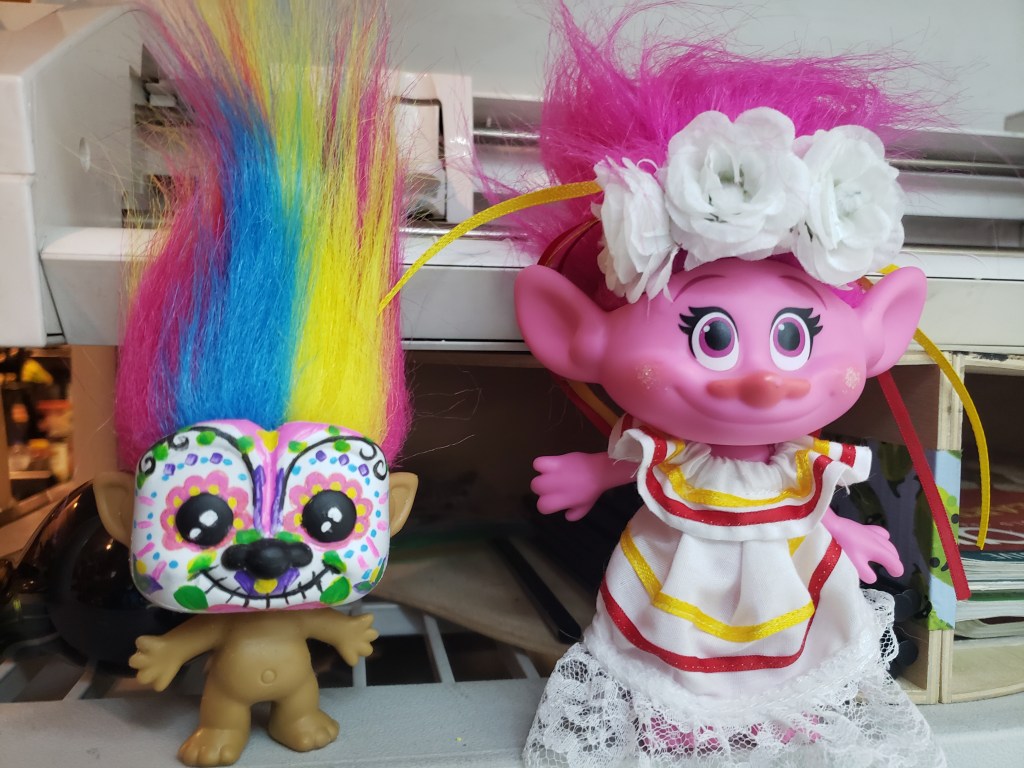
My husband bought me about 2 dozen of these funk o pop trolls to art up over self isolation time. So my goal is a troll a day. They’ll be listed on the etsy store: http://www.etsy.com/shop/2ndlifedolls so check in daily! Maybe you’ll see one that you like.
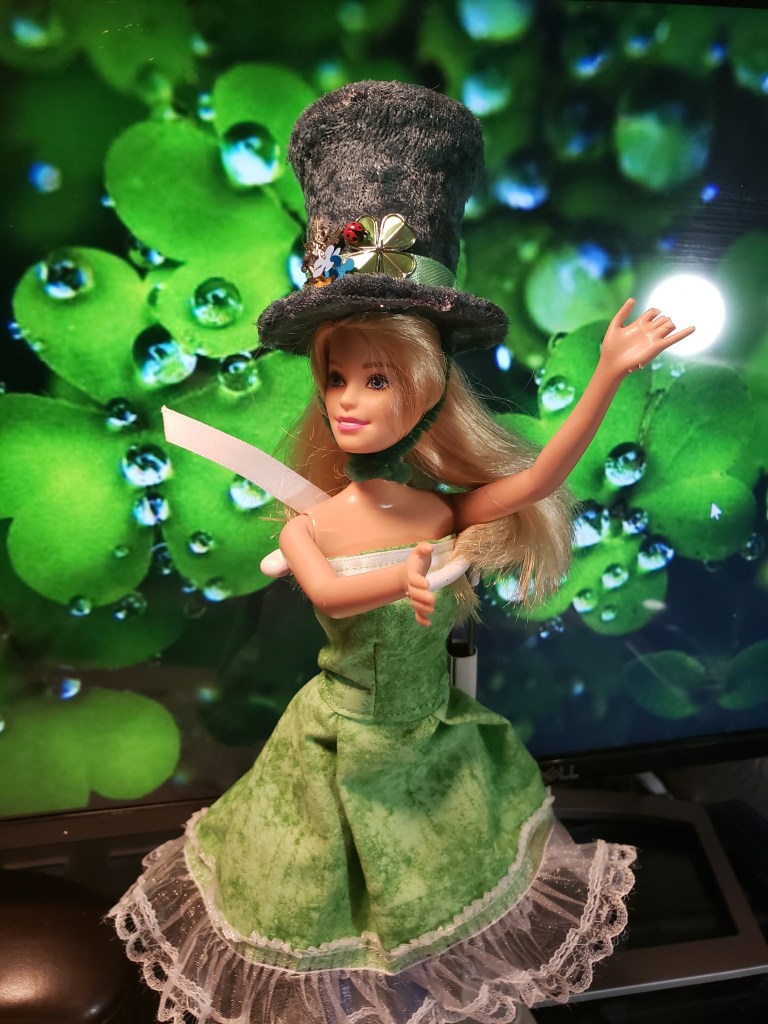
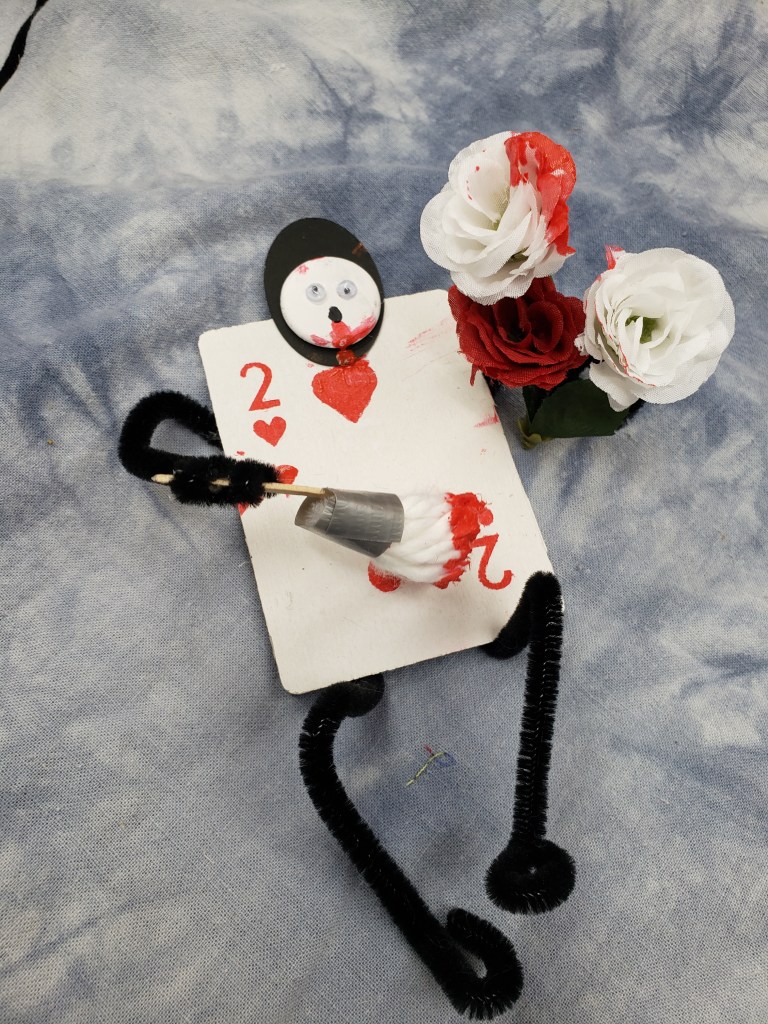
Made for the Lost in Wonderland event in San Antonio, there is a new item up at our etsy shop:
This cute little magnet will be filling your head with the earworm “painting the roses red…” every time you open your fridge! Take one home today! Limited signed edition.
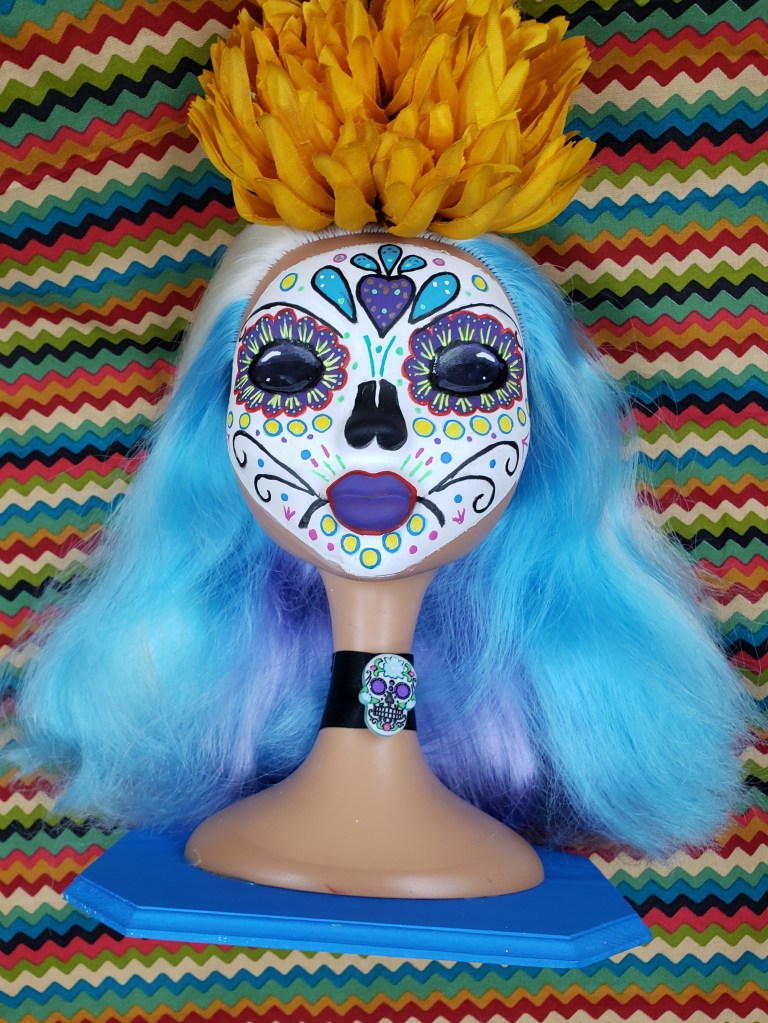
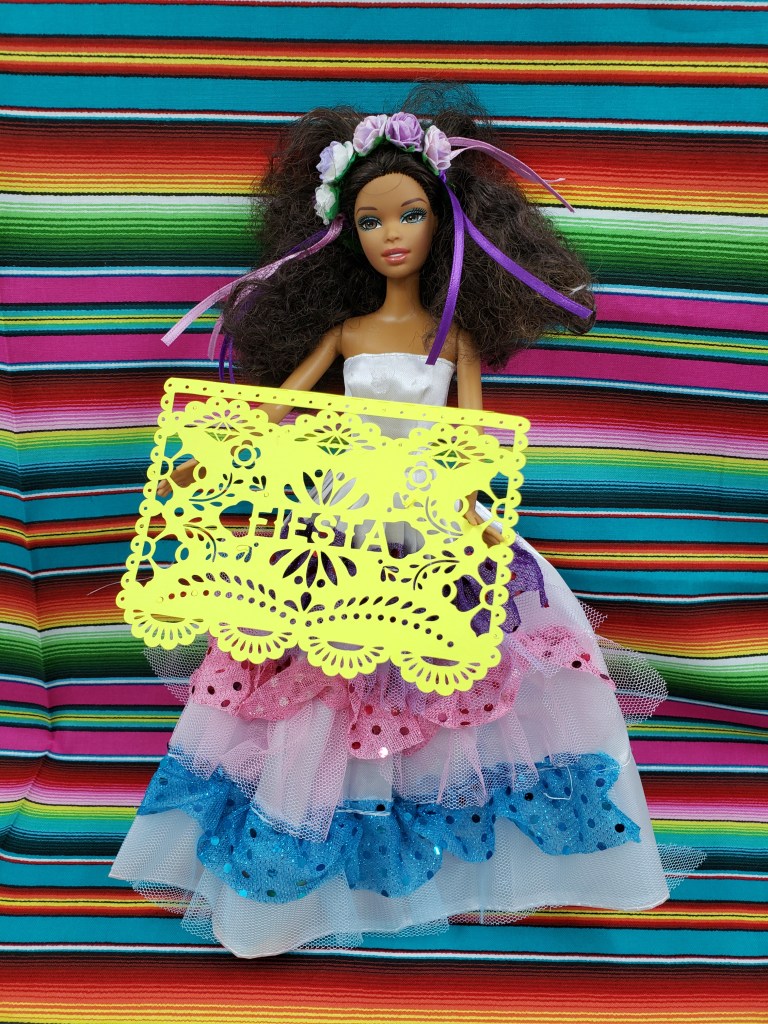
We’ll be doing fiesta dolls workshop at our next event in Helotes marketplace. Come and see us then! Until then, look for our fiesta dolls on our etsy store. Get ready! Coming soon!
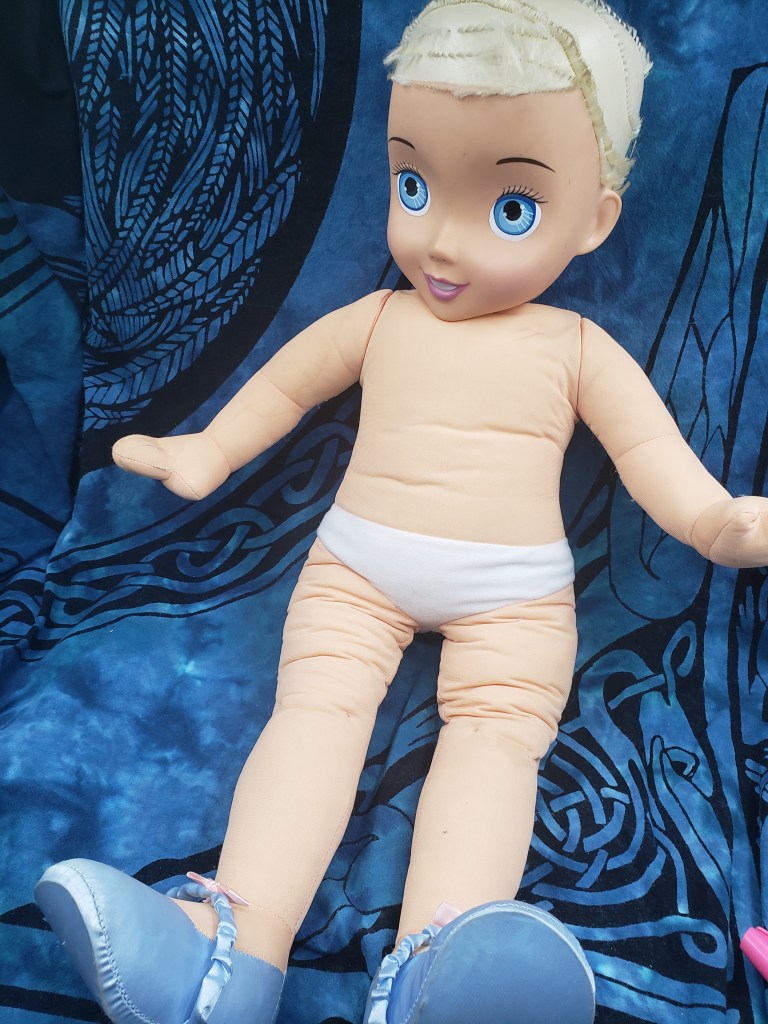
I have been thinking for a while, that I need to do a “making of” video, but it is a LOT of time to take on something, and if I were watching it, I would rush through to the parts I thought were most important. But I am a writer, or was before my muse died, and I can take pictures 🙂 So let me take you basically through the steps of a 2ndlifedolls OOAK custom doll. I put step one as the basic doll once I removed her hair and actually rememberd this would be a good time to take a picture, but obviously, I went to the Thrift store and found this Cinderella doll first. She had a roughed up dress and her hair was pretty raggedy. She was in my doll bin as a possible remake/upcycle, so when I got the commission to make a custom Elsa for a <5 year old girl, I decided the Cinderella would do just fine, and if I didn’t get it right, I could always try a smaller doll.
First thing I did was remove the dress, her hair, and because she was a singing doll, I removed her voice. I guess that makes me Ursula!
Step 1
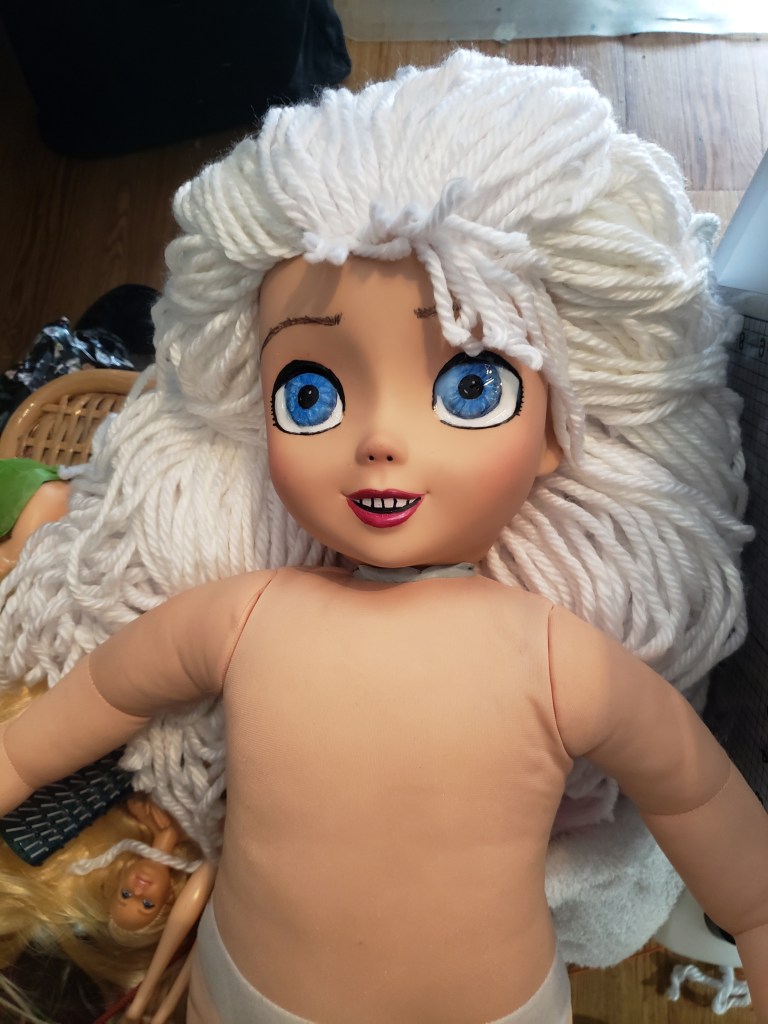
Next, I had to make some big blue Elsa eyes. Disney has Princesses with very big eyes, and I didn’t want the eyes to look like the store bought, so I made them a little bigger and outlined her mouth and drew in some new brows. You can see the mold of her eyes in this, but with the glaze, I knew that would diminish.
Step 2- new face
The next step was some hair. Since this was for a little girl, I thought some yarn hair would be perfect. It can’t really be combed or brushed, but it will withstand a lot of playing with and can be dyed and/or hand washed pretty easily. Plus it’s soft and nice to cuddle with. Because she has so much hair/yarn, she can probably take a few brushings and it won’t turn out as ratty as the synthetic hair. Besides which, this hair can always be replaced, and it’s not too difficult for a beginner.
You can see also that the glaze on the eyes has pretty much removed the mold lines visibility. Look at Barbie trying to photobomb this shot… what an attention whore.
Step 3 – add hair
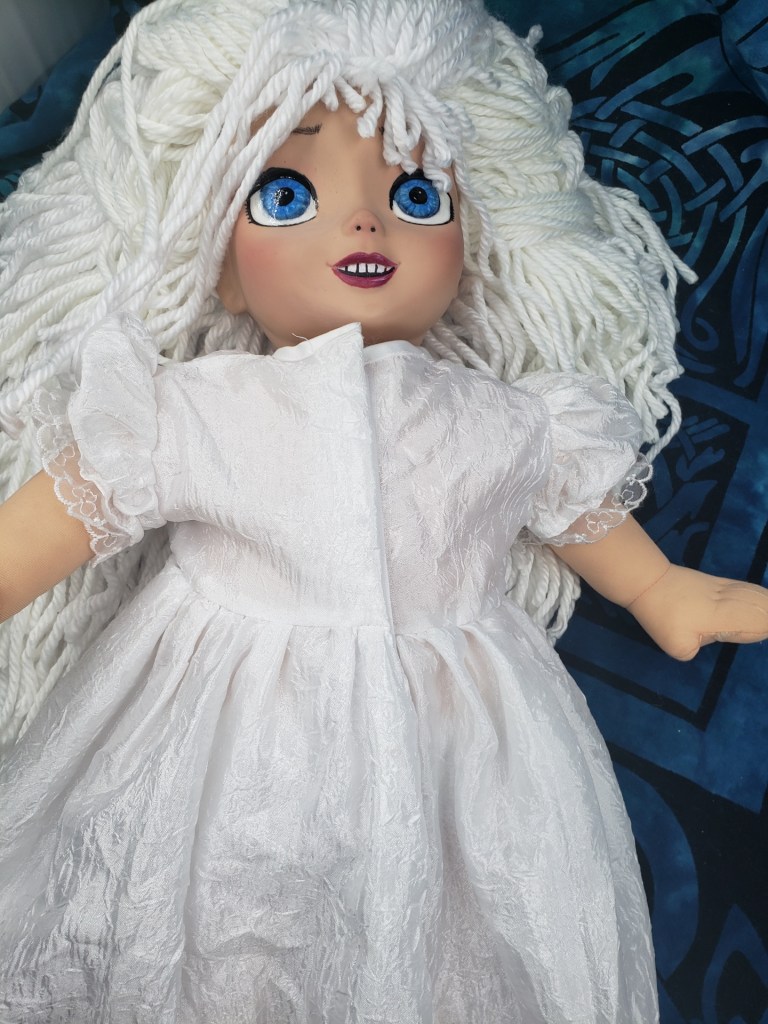
I found the Dress at Texas Thrift. It was covered in lace, which was removed, and altered so that the 24 month dress fit our Elsa a bit better. I added velcro for easy on and off. I also dyed a pair of white leggings (12 mo) that I got from the thrift store so that Elsa would look a little more like Elsa from Frozen 2.
Step 4 – add dress
For the finishing touches, I added tulle and some blue/glittered snowflakes. She has a little scarf that matches. I also took apart a singing Elsa doll and stuck the body in the cavity left by the Cinderella voice/battery box. If you squeeze this doll, she will sing “Let it Go” like Elsa in the first movie.
Step 5 – add embellishments
Now she’s all done and ready to wrap and ship…. which will cost a lot, because it’s a big doll, but someone’s daddy is willing to pay for a one of a kind doll that will keep their little girl warm at night.